Adding Picasaed Widget
What is Picasa?

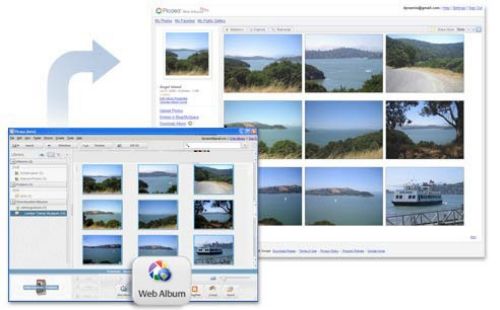
Picasa is a free software from Google that helps you:
- Locate and organise all the photos on your computer.
- Edit and add effects to your photos with a few simple clicks.
- Share your photos with others through uploading to your Picasa Account.
Learn more about Picasa from Picasa Google.
How Do you Add the Picasaed Widget to Your Blog?
1. Currently you need to have a Google account in order to use Picasa. If you do not have one Google account, you can get it here. After you obtain Google account, you get 1GB of free online storage for your photo uploading.
You can upload photos with the Picasa software’s “Web Album” button, You can download Picasa software through Picasa Site (http://picasa.google.com)

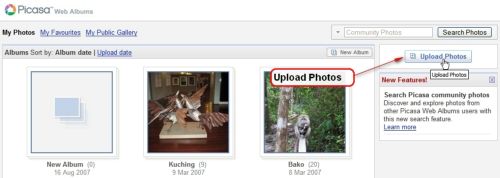
Or use your normal web browser by login to your Picasa account from here then add photos through “Upload Photos” button.

To learn more on Picasa’s features, please read Picasa Features.
2. Click Presentation, Widgets and drag the Picasased widget from the Available Widget area into the sidebar.
3. Click the little box on the right side of the Picasaed widget, you will see the following configuration box.
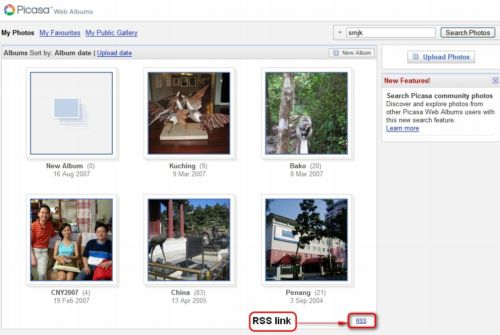
4. On your Picasa account, or any other people’s Picasa account, find the RSS feed of the Photo Set, which is located at the right bottom of the page, refer to screen below
5. Then put the number of pictures from the album you’d like to display in your sidebar. If you want the photos to link to your Picasa Album or to display random images tick the appropriate check boxes.
6. Remember to Click “Save Changes” before you exit the Sidebar Widgets; If everything is correct you will start seeing your Picasa Photos showing up in your sidebar.