Writing a Post
The process of entering your writing in WordPress is easy.
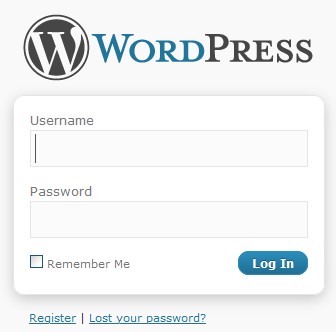
1. Login to your WordPress Administration Panel.
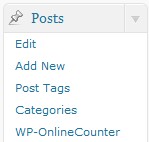
2. Click Add New to write a new post.
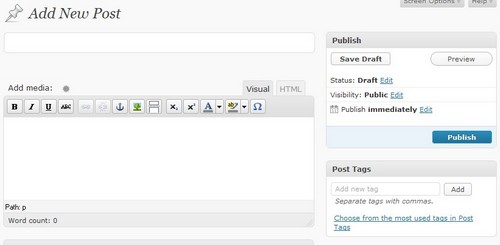
3. Start filling in the blanks.
Title – This is where you enter the title of your post. You can use any words or phrases. Avoid using the same title twice as that will cause problems. You can use commas, apostrophes, quotes, hypens/dashes, and other typical symbols in the post like “My Site – Here’s Lookin’ at You, Kid”. WordPress will clean it up for the link to the post, called the post-slug.
Post Editing Area – The big blank box is where you enter your writing, links, links to images, and any information you want to display on your site is the Post Editing Textarea or editing box.
4. Additional Info.
On the right hand side of the Post , there are various functions about the particular post.
Post Tags – Tags are the keywords you might assign to each post. Not to be confused with Categories, Tags have no hierarchy, meaning there’s no relationship from one Tag to another. But like Categories, Tags provide another means to aid your readers in accessing information on your blog.
Categories – The list of categories on your site is found here. By default, the uncategorized category will be checked, unless you have already changed the name of that category. Check the categories and sub-categories the post belongs in and make sure to uncheck “uncategorized” if applicable.
Discussion – The Discussion section hosts two checkbox choices. One is for Allowing Comments and the other is for Allowing Pings. If Allowing Comments is unchecked, no one can post comments to this particular post. If Allowing Pings is unchecked, no one can post pingbacks or trackbacks to this particular post.
At the bottom of the post there are more functions:
Excerpt – The WordPress Excerpt is an optional summary or description of a post; in short, a post summary. It replaces the full content in RSS feeds when the option to display summaries is selected in Dashboard › Settings › Reading.
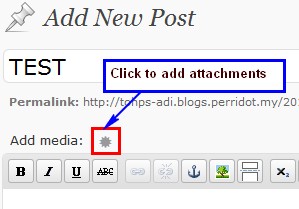
5. Uploading Attachments
If you need to upload any photo or files, click on the
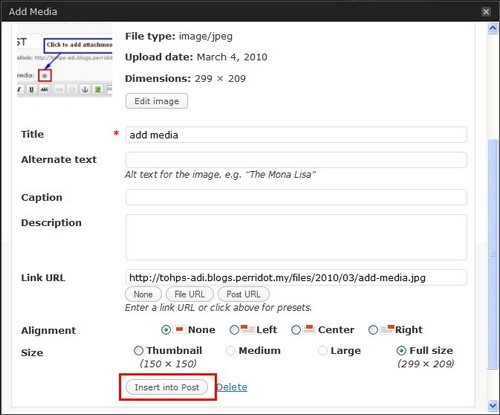
button, browse a file on your local PC, and click “upload”.
When the file had been uploaded, you will need to wait for a while depending on the file size uploaded,then just click “Insert into Post” button to insert it into post/page.
6. When you are ready, click any of the following
Save Draft – A draft is an incomplete post. Maybe you’ve written up some information, but are not yet ready to unleash it to the world at large. Use this button to save what you have written but prevent the post from being displayed. WordPress reminds you on the Administration > Dashboard Panel and on this Write Post page when you have drafts to complete.Preview – Previewing your work.
Publish – Makes the post visible on your Blog. Use this button once you’ve typed in your story, and you are satisfied that everything is as you want it.
That’s it. You have your post done.
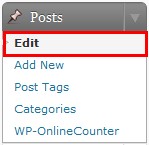
If you need to edit the post, choose the “Posts” -> “Edit” option, and select the post you want to edit.


