Write a Page
Pages, or WordPress Pages are like Posts, except they can do much more than Posts, and they live outside of the normal blog chronology. You can use Pages to organize and manage any amount of content.
But how do Pages in WordPress actually operate? The purpose of this document is to attempt to explain what a Page is and what it is not, to describe what a Page can do, and to give a few examples.
Posts are time-oriented objects. You write them at a specific time, and that time defines their context.
Pages, on the other hand, are most often used to present information about yourself or your site that is somehow timeless – information that is always applicable. For example, you might write a Post describing what you did or thought on a particular morning (“Breakfast was good”), but on a Page you might write something whose context is less time dependent (“This site is about breakfast”).
Of course, this is your WordPress; you can do whatever you want with it and its features. Pages can be used to present any information you want to live “outside” your blog. Experiment and be creative. And, as always, have fun doing it!
Some examples of Pages to create on your site may include, Copyright, Legal Information, Reprint Permissions, Contact Information, About Me, About Site, Accessibility Statement, among other things.
In general, Pages are very similar to Posts in that they both have Titles and Content and can use your site’s Presentation Templates to maintain a consistent look throughout your site. Pages, though, have several key distinctions which makes them quite different from Posts.
The process of entering your writing in WordPress is easy, writing a Page is very similar to Writing a Post.
The process of entering your writing in WordPress is easy.
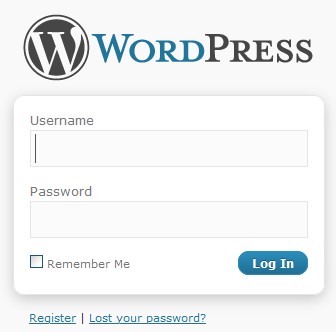
1. Login to your WordPress Administration Panel.
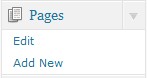
2. Click Add New write a new page.
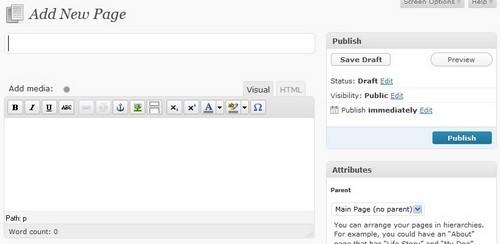
3. Start filling in the blanks.
Title – This is where you enter the title of your post. You can use any words or phrases. Avoid using the same title twice as that will cause problems. You can use commas, apostrophes, quotes, hypens/dashes, and other typical symbols in the post like “My Site – Here’s Lookin’ at You, Kid”. WordPress will clean it up for the link to the post, called the post-slug.
Post Editing Area – The big blank box is where you enter your writing, links, links to images, and any information you want to display on your site is the Post Editing Textarea or editing box.
4. Additional Info.
On the right hand side of the Post , there are various functions about the particular post.
Discussion – The Discussion section hosts two checkbox choices. One is for Allowing Comments and the other is for Allowing Pings. If Allowing Comments is unchecked, no one can post comments to this particular post. If Allowing Pings is unchecked, no one can post pingbacks or trackbacks to this particular post.

At the bottom of the post there are more functions:
Parent – Determine page hierarchy.
For example, suppose you are creating a WordPress site for a Co-curriculum and would like to create an individual Page for each types of co-curriculum.
You would begin by creating a Page called “Sports” . Then you would create a series of Pages which would be SubPages to “Sports” and might include “Badminton”, “Basketball”, “Swimming”, and “Netball”. Another individual Page is made for “Uniform Group” and would feature SubPages of “Scout”, “PBSM”, and “Cadet Police”. Your site would then list:
- Sports
- Badmindton
- Basketball
- Swimming
- Netball
- Uniform Group
- Scout
- PBSM
- Cadet Police
Order – Pages are usually ordered alphabetically, but you can put a number above to change the order pages appear in. Ordering will be in ascending order.
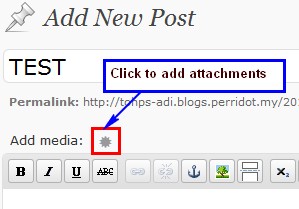
5. Uploading Attachments
If you need to upload any photo or files, click on the
button, browse a file on your local PC, and click “upload”.
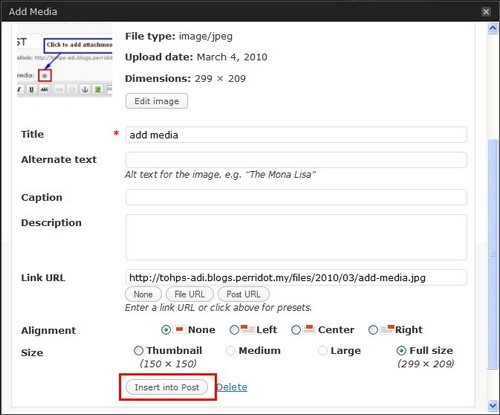
When the file had been uploaded, you will need to wait for a while depending on the file size uploaded,then just click “Insert into Post” button to insert it into post/page.
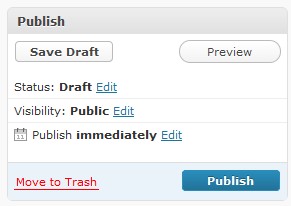
6. When you are ready, click any of the following
Save Draft – A draft is an incomplete post. Maybe you’ve written up some information, but are not yet ready to unleash it to the world at large. Use this button to save what you have written but prevent the post from being displayed. WordPress reminds you on the Administration > Dashboard Panel and on this Write Post page when you have drafts to complete.Preview – Previewing your work.
Publish – Makes the post visible on your Blog. Use this button once you’ve typed in your story, and you are satisfied that everything is as you want it.
That’s it. You have your post done.
If you need to edit the page, choose the “Pages” -> “Edit” option, and select the page you want to edit.