Setting Up Choice Form
Setting Up Choice Form
- In the editing mode of your course, click the pull-down menu of Add an Activity. Select Choice.
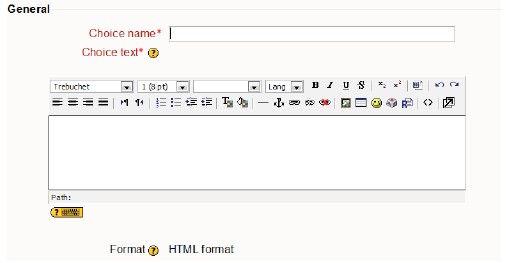
- Type in a short name that will be displayed in the Choice Name box.
- Type the question you want answered in the text box.

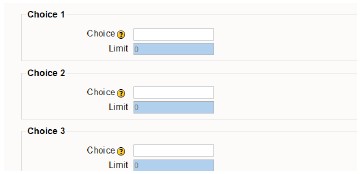
- Limit lets you determine if you want the number of responses for each particular option to be limited and stopped when the limit is met. Enable allows setting limit for each answer. Disable allows unlimited responses for each answer.
- Add the answers in each of the Choice boxes. If you enabled the limit, add the amount wanted to limit it to. If need more than 5 Choices, select add 3 fields to form button.

- Restrict answering to this time period allows you to set up a time limit for answers to be submitted or having no set time period.
- In the Miscellaneous Settings provides attributes for each of the following areas:
- Display Mode selects horizontal or vertical display.
- Publish Results determines how/when results are published.
- Privacy of Results sets if students get results, whether annonymous or not.
- Allow choice to be updated allows student to change their mind or not.
- Show column for unanswered, if set to yes shows how many participants have not answered.

- Common Module Settings allows attributes for the following areas:
- Group mode -3 levels,
- No groups – one whole group,
- Separate groups –groups can see only own group,
- Visible groups – work in own group but can see other groups.
- Visible to students makes activity hidden from students if don’t want showing.
- Group mode -3 levels,
- Save Changes to save the settings.
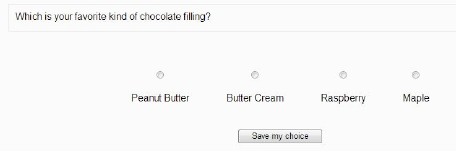
Example of a Choice
