Backing up a Glossary
This method shares glossaries and course structure.
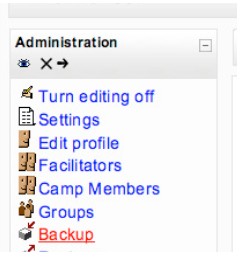
- Select backup from the administration block.

- If you are only backing up a glossary, make sure that you un-select all of the other boxes before you begin. (click None)

- Select the glossaries that you want to backup. If you click on Glossaries, all of your available glossaries will be selected. You may specify particular glossaries, if you choose. If your students created the data, you must decide if you will transfer their entries. Select user data for all glossaries or select user data for individual glossaries. When doing backups as a preventative measure, always select all user data. However, when you are resetting your course at the start of a new semester / year, you may not want to keep student data depending on how you have used the glossary.

- Click Continue
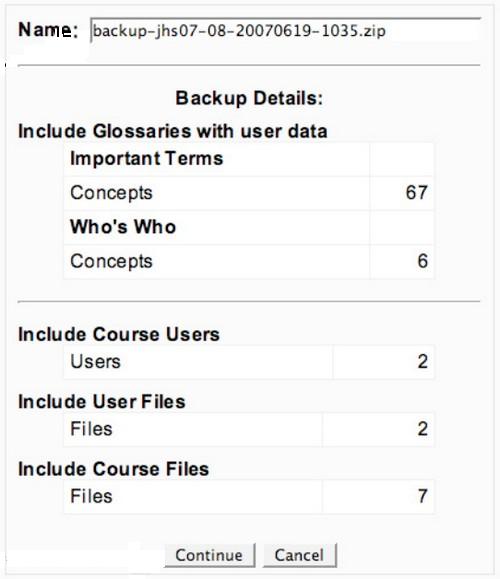
- You will be directed to a page that summarizes the backup details. (Note the name of the zipped backup file for later.)

- Click Continue
- You will be directed to a page that details the backup data. At the bottom of the page, you should see a message that reads “Backup completed successfully.’
- Click Continue
- Your file should be listed on the next page. Each time you backup your course (or a portion of the course, a zipped file will be added to this list.

- To save this file to another location, click on the name of the file. Should anything happen to your course; you may use these files to restore it to previous version.